iOS 10 adds a whole new category of apps with iMessage Apps. These run inside the Messages app and can be as simple as a set of stickers or as complex as person-to-person payment system. Today we'll dip our toes into the water by creating the simplest of all iMessage Apps: a Sticker Pack App. Let's get started.
To begin, we'll need to actually create the artwork for whatever we want our stickers to be.
Stickers can be animated or static, and can be any of these formats: PNG, APNG, JPEG, GIF APNG, GIF. All stickers are limited to a file size of 500 KB each.
We'll keep things simple and just make the Swift logo into a sticker.

Now, let's actually create our app. We'll open Xcode, create a new project and choose Sticker Pack Application.
We'll give our app a name, then we'll see our new project.
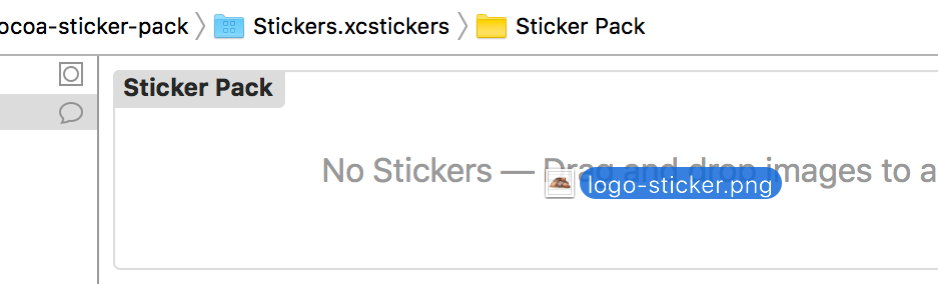
At this point, all we have to do is select the Stickers.xcstickers file in Xcode's navigation and drag and drop our image file(s) into Xcode.
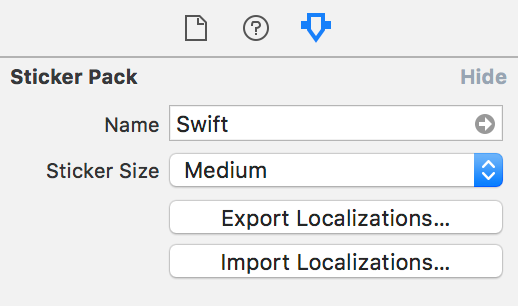
Last but not least, we can set a name and choose our desired sticker size in the Attributes Inspector on the right. There's Small, Medium and Large. Each one will display different depending on which device a user is running. (On @3x devices like iPhone 6S and 6S Plus, Small is 100x100, Medium is 136x136, and Large is 204x204).
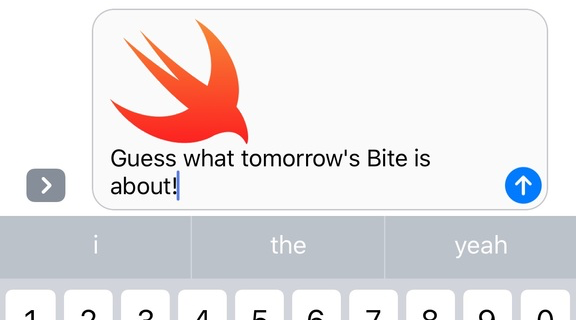
We can now build and run on our device, choose Messages as the app to run in, fire up a conversation, pick our new app and start sending Swift-y stickers to all our friends!
WWDC 2016 brought us a ton of new goodies, let's dive right in. Today we'll take a look at SFSpeechRecognizer. It allows us to recognize spoken words in audio files or even audio buffers. Let's check it out.
We'll start by importing Speech, and requesting the user's authorization:
import Speech

SFSpeechRecognizer.requestAuthorization {
  DispatchQueue.main.async {
    switch $0 {
      case .authorized:
        // TODO
      break

      default: break
    }
  }
}
Before we can proceed, we'll need to add a key called NSSpeechRecognitionUsageDescription to our app's Info.plist and give it a value explaining how our app will use the functionality.
Users will see this text, so we should try to be short and simple. Something like "Speech recognition will be used to provide closed captioning of your Instagram videos." (for example) should work fine.
Next we create a recognizer, then configure a request with the URL to our audio file.
Then we'll kick off a recognition task. We configure it to report even partial results, then print each one.
let audioURL = Bundle.main().urlForResource("crazy-ones", withExtension: "m4a")!
let recognizer = SFSpeechRecognizer(locale: Locale(localeIdentifier: "en-US"))
let request = SFSpeechURLRecognitionRequest(url: audioURL)

request.shouldReportPartialResults = true

recognizer?.recognitionTask(with: request) { result, error in
  guard error == nil else { print("Error: \(error)"); return }
  guard let result = result else { print("No result!"); return }

  print(result.bestTranscription.formattedString)
}
Success! The words spoken inside our audio file are printed, neat!

This is just the beginning, we’ll explore more of SFSpeechRecognizer's capabilities in upcoming Bites!