We first looked at iMessage Apps in Bite #237, when we created a Sticker Pack app. Today we'll go one step further and create an iMessage app that provides it's own UI for displaying Stickers. Let's get started.
This time, we'll make an iMessage app to send Little Bites of Cocoa Bites to our friends!
We'll start by creating a new Messages Application in Xcode. Then, we'll make a new file called BiteBrowserViewController.swift. We'll make it a subclass of MSStickerBrowserViewController.
We'll need to conform to MSStickerBrowserViewDataSource so we'll add a property to hold the Bite images and implement a couple of simple functions:
class BiteBrowserViewController: MSStickerBrowserViewController {
  var stickers = [MSSticker]()

  override func viewWillAppear(_ animated: Bool) {
    super.viewWillAppear(animated)

    loadStickers()
    stickerBrowserView.reloadData()
  }

  override func numberOfStickers(in stickerBrowserView: MSStickerBrowserView) -> Int {
    return stickers.count
  }

  override func stickerBrowserView(_ stickerBrowserView: MSStickerBrowserView, stickerAt index: Int) -> MSSticker {
    return stickers[index]
  }
}
The loadStickers function loads Bite images from disk, then adds them as MSSticker instances. The loading plumbing code isn't important as everyone will likely be implementing this specifically for their use case.
The important bit is that we need to create MSStickers and get them into our stickers array:
try sticker = MSSticker(contentsOfFileURL: stickerURL, localizedDescription: localizedDescription)
stickers.append(sticker)
We're almost done.

We'll need to add our BiteBrowserViewController as a child view controller of it. We'll do so like this:
When we created our Message App, Xcode created a MessagesViewController.swift file for us. This will get shown in the UI.
class MessagesViewController: MSMessagesAppViewController {
  var browserViewController: BiteBrowserViewController!

  override func viewDidLoad() {
    super.viewDidLoad()
    browserViewController = BiteBrowserViewController(stickerSize: .large)
    browserViewController.view.frame = self.view.frame

    self.addChildViewController(browserViewController)
    browserViewController.didMove(toParentViewController: self)
    self.view.addSubview(browserViewController.view)
  }
}
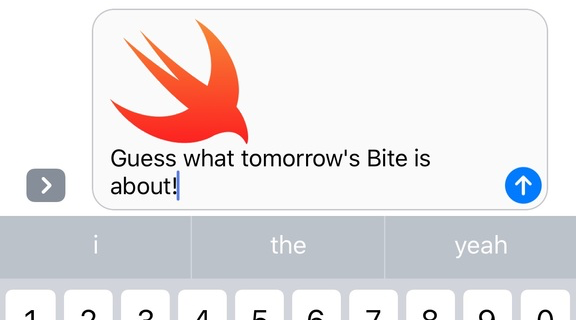
Finally, we'll update our Bundle Display Name in Info.plist to something like "Bite Sender". We can now Build & Run our app in Messages and start sending Bites to everyone we know!