Picking up where we left off in Bite #89: Today we'll look at adding our own custom project templates to Xcode. When Xcode 6 debuted at WWDC 14, one of the things that had seemingly gone missing was the "Empty Application" project template. This template was great because it made no assumptions about what kind of app or project we were creating. Let's add it back as a custom project template.
Much like we did when creating file templates, we'll begin by creating a folder for our custom templates to live in. This will be: ~/Library/Developer/Xcode/Templates/Project Templates/Custom. We'll create a new folder in here called Empty Application.xctemplate.
Then we'll need to create a TemplateInfo.plist to describe our template.

Most of this is boilerplate, except that last bit in TemplateInfo.plist, the Definitions dictionary. This where we'll specify the content of our base AppDelegate file. The full source of the Definitions block of the plist file is shown below. Note how the key informs where to inject the code, and value contains the code itself.
<key>Definitions</key>
<dict>
<key>AppDelegate.swift:implementation:methods:applicationdidFinishLaunchingWithOptions:body</key>
  <string>self.window = UIWindow(frame: UIScreen.mainScreen().bounds)
    // Override point for customization after application launch.
    self.window!.backgroundColor = UIColor.whiteColor()</string>

<key>AppDelegate.swift:implementation:methods:applicationdidFinishLaunchingWithOptions:return</key>
  <string>self.window!.makeKeyAndVisible()
    return true
  </string>
</dict>
Just like before we'll an icon for our new template. We'll add a TemplateIcon.tiff to our template folder. Now we can press ⌘N in Xcode to try out our new template.
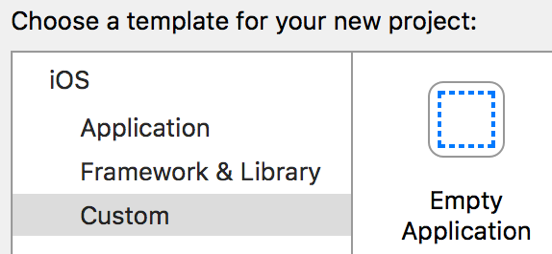
Note: Keep in mind when using this template, that the UIWindow will need a root view controller set on it before our app can do anything useful.
The "Empty Application" project template we created in this bite can be downloaded here.
 Tweet
Tweet
 Share
Share
 on reddit